Bouncer Plans: Contacts, Sends, and Qualifying Tiers
Bouncer cost guide: researched plan structure, who each tier suits, cost scenarios, and value tradeoffs — no invented prices.
Quick answer
Bouncer pricing is plan-gated across 5 researched tiers. No free plan confirmed in SoftwareGlimpse research. No free/trial flag confirmed in SG data — budget a paid pilot. Compare seat/capacity gates and unlocks — not list-price folklore.
- Free plan: not confirmed in SG data
- No free/trial flag confirmed in SG data — budget a paid pilot
- Entry paid tier researched: Email Verification — 1,000 credits
Bouncer plans takeaways
- Packaging is often usage-shaped — Researched plans: Email Verification — 1,000 credits, Email Verification — 10,000 credits, Deliverability Kit — Starter, Deliverability Kit — Standard, Email Verification — 1M+. Researched capacity / usage limits: Email Verification — 1,000 credits: up to 1,000 credits; Email Verification — 10,000 credits: up to 10,000 credits.
- Must-haves set the tier — Our research does not flag plan-gated capabilities for Bouncer, but confirm your must-haves — including contact tiers and send limits — against the packaging you actually intend to buy.
- No invented totals — Never invent list prices here — confirm seats, sends/contacts, and quote terms on /pricing/bouncer/.
- Seat discipline still matters — Count who prospects or dials weekly — not the whole org chart — before you compare Bouncer packages.
Bouncer plan anatomy
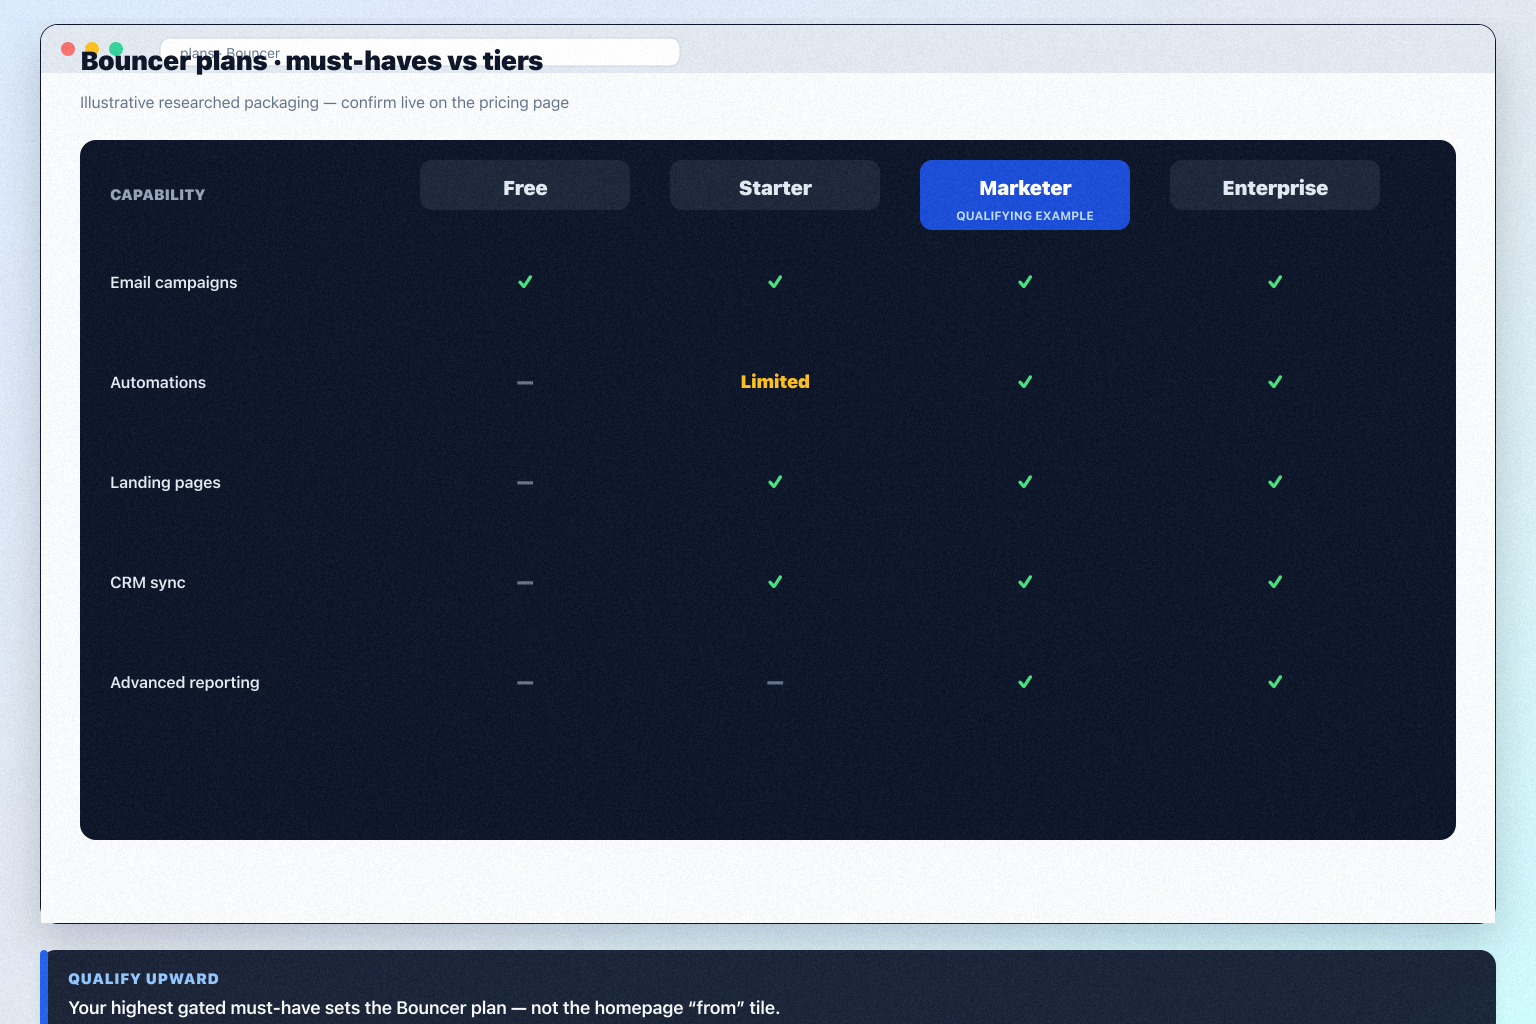
Bouncer must vs nice
- Campaigns + ESP ↔ CRM sync
- Campaigns or automations
- Extra optional add-ons
- AI assistance
Bouncer checklist
Bring these questions to every demo
Ask vendors to show the workflow live, not just describe it.
- 1List day-one must-havesData, outreach, sync that must ship without unused enterprise.
- 2Map contacts and send limitsUse researched plan names — not marketing tiles.
- 3Confirm on pricing pageList price and contact-tier upgrades live there — not in this guide.
Frequently asked questions
Why don’t you list dollar prices here?
Never invent list prices here — confirm seats, sends/contacts, and quote terms on /pricing/bouncer/.
What if there is no public plan matrix?
Common for email marketing. Compare with a written must-have sheet and quote diligence — not blog “starting at” figures.
Seats or sends/contacts — which matters more?
Whichever your day-one jobs consume. Many teams under-buy sends/contacts and over-buy spectator seats — reverse that.
Bouncer plan matrix and who each tier suits
Structure and trial/free flags come from SoftwareGlimpse pricing research. Dollar amounts appear only when verified — never invent list prices.
- Seats61%
- Add-ons18%
- Implementation12%
- Training5%
- Other4%
Email Verification — 1,000 credits
up to 1,000 credits · Unlocks: contact management, forms, analytics · Suits: teams whose must-have gates appear on this tier
Email Verification — 10,000 credits
up to 10,000 credits · Suits: teams whose must-have gates appear on this tier
Deliverability Kit — Starter
Suits: teams whose must-have gates appear on this tier
Deliverability Kit — Standard
Suits: teams whose must-have gates appear on this tier
Email Verification — 1M+
Contact sales · Suits: teams that need custom procurement
1. Bouncer cost scenarios to pressure-test
Lean team / free-or-trial first
Scope a time-boxed pilot; No free/trial flag confirmed in SG data — budget a paid pilot.
Growing team with gated workflows
Map must-have workflows (contact management) to plan unlocks before expanding seats.
Hidden / extra cost watch
Budget risk: Not an email sending or campaign tool. Also check add-ons, overages, and admin time outside the sticker plan.
Price Bouncer against how you actually buy seats and unlocks — not against a competitor's homepage headline.
Bouncer value rule
Bouncer cost mistakes to avoid
Cost trap 1
Not an email sending or campaign tool
Cost trap 2
Core verification is credit-based (not a single flat unlimited plan)
Cost trap 3
Catch-all / unknown results still require judgment even with deep verification claims
Cost trap 4
ESP comparison criteria (creation/automation) do not apply — adjacent hygiene tool
Cost trap 5
Deliverability Kit and Shield are separate paid products from verification credits
Cheaper or clearer alternatives to pressure-test
Compare total cost of ownership vs Bouncer on identical constraints.
- View CRM profile
 InboxAlly
Email deliverability and reputation repair via seed engagement and inbox placement tooling.
- View CRM profile
 GetResponse
GetResponse is an AI-driven email marketing and lifecycle automation platform with newsletters, automation workflows, landing pages, funnels, webinars (higher plans), and ecommerce tools. Paid plans use contact-list tiers with unlimited monthly email sends; a forever-free plan an
- View CRM profile
 Mailchimp
Email marketing with CRM features; freemium entry (secondary category: marketing).
Catalogue peers only — not commission-ranked.
Bouncer pricing checklist
0/3 dimensions noted — saved in this browser only.
Plan gates you must unlock
Trial / free proof
TCO extras
Was this article helpful?
Have more questions? Contact our support team.
Part of Bouncer review · Email Marketing hub
Related guides
Supporting reading in this topic — not a generic related-posts dump.
- Email Marketing Pricing Guide: Contact Tiers & First 90 DaysLearn how email marketing pricing works — contact tiers, send caps, feature gates, and how to compare written quotes for the first 90 days — without invented price tables.
- How to Choose Email Marketing Software: Job-First FrameworkChoose email marketing software by primary job — newsletters, automation, ecommerce, or all-in-one — then map contact tiers, feature gates, and a shared trial script.
- Is Bouncer Worth It? Fit Scenarios Before You BuyDecide if Bouncer is worth it for your marketing team — fit scenarios, contact economics, and when to keep looking — without invented ROI percentages.
Related products
Related comparisons
SoftwareGlimpse Updates
Want clearer software shortlists? Get buying guides and comparisons by email.
Newsletter coming soon.